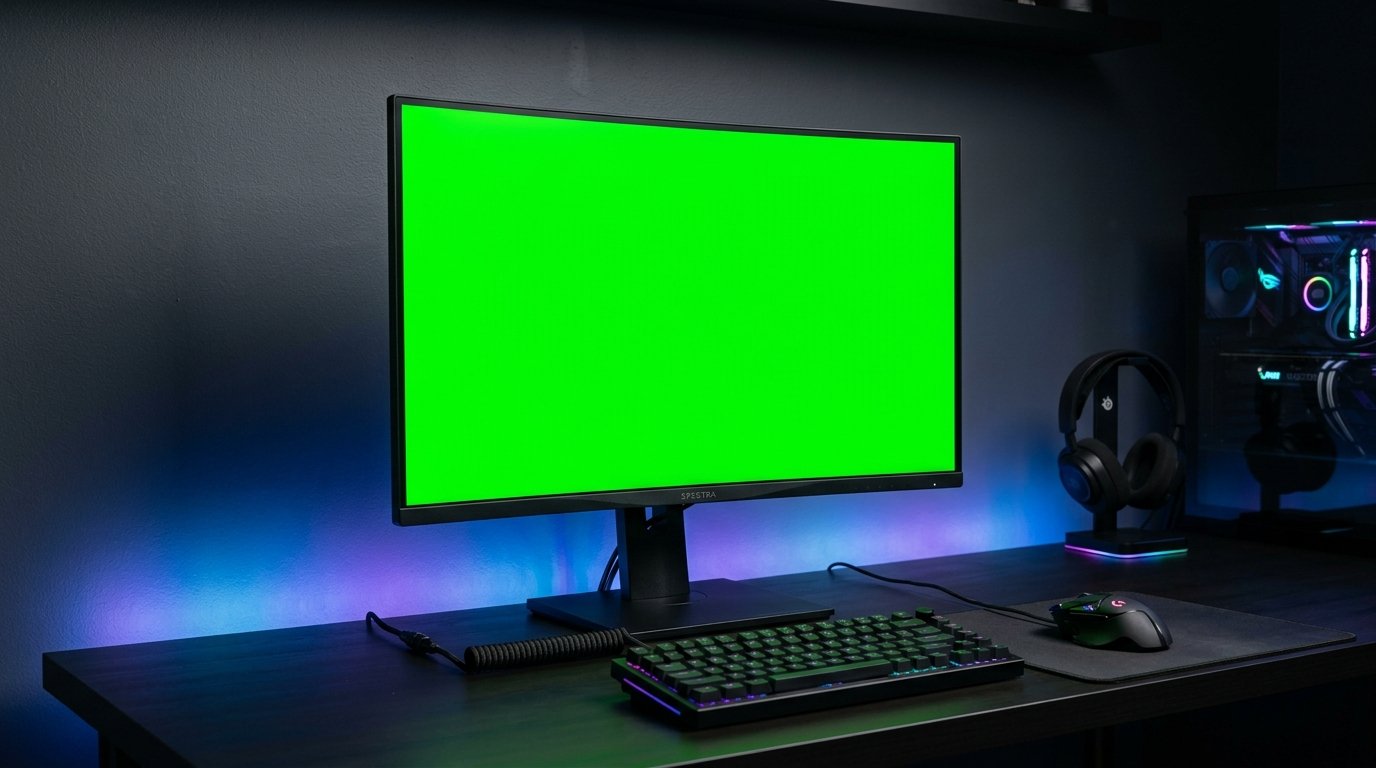
Buying a new gaming monitor is exciting, whether you are upgrading to a high-refresh-rate display, building a gaming setup, or replacing an older screen. However, before you start playing, it is worth checking the display for dead pixels, stuck pixels, and other visible defects.
A single defective pixel can be difficult to notice during everyday use, especially when a game has dark scenes, bright effects, and constantly changing images. Testing the screen before completing your purchase can help you identify potential problems while you still have time to contact the seller or request an exchange.
In this guide, you will learn how to test a gaming monitor for dead pixels, which screen colors to use, what other display characteristics to inspect, and what to do if you discover a suspected defect.
What Are Dead Pixels and Stuck Pixels?
A monitor creates images using millions of tiny picture elements called pixels. Each pixel contains subpixels that combine to display different colors.
Sometimes, an individual pixel or one of its subpixels does not behave as expected.
Dead pixels
A dead pixel typically remains black or unlit regardless of the image displayed on the screen. It may be easiest to notice when the rest of the display shows a bright, uniform color. Because the underlying subpixel transistors fail to receive voltage, they cannot illuminate. For a detailed breakdown of subpixel transistor failure, read our guide on what is a dead pixel.
Stuck pixels
A stuck pixel remains illuminated in one or more colors instead of displaying the intended color correctly. Depending on the fault, it may appear red, green, blue, white, or another persistent color. Because the liquid crystal is stuck in an energized state, it does not respond to signal changes.
Other display issues
Not every unusual spot is a defective pixel. Dust, fingerprints, reflections, image retention, graphics glitches, and panel uniformity issues can also affect what you see. For help telling surface specks apart from true defects, see our article on is that spot on your screen a dead pixel.
A pixel test can help you identify suspicious spots, but further inspection may be needed to determine the cause.
Why Test a Gaming Monitor Before Buying?
Gaming monitors are often used for fast-moving games, competitive play, and detailed graphics. A defective pixel may be particularly noticeable when it appears near the center of the screen or against a uniform background (such as an open sky, a sniper scope overlay, or an esports minimap).
Testing before buying can help you:
- Identify visible pixel defects before your return window expires. Most retail return windows are limited to 14 to 30 days.
- Inspect a used monitor before handing over payment. Second-hand purchases typically offer no return warranty once the transaction is finalized.
- Check a newly delivered monitor for potential manufacturing defects. Physical panel damage or transit shock can be documented immediately.
- Document a problem before contacting the retailer. High-resolution photos taken against solid test slides streamline support tickets.
- Make a more informed decision about whether a display meets your personal expectations and quality standards.
Not every manufacturer considers a single defective pixel eligible for replacement. Many brands follow ISO 9241-307 Class II standards requiring 3 to 5 dead pixels before approving an RMA. Always check the seller's return policy and the manufacturer's specific pixel-defect warranty terms before purchasing.
How to Test a Gaming Monitor for Dead Pixels Online
The easiest way to start is with a fullscreen monitor testing tool that displays solid colors across the screen.
Step 1: Clean the screen gently
Turn off the monitor and follow the manufacturer's cleaning instructions. Use an appropriate soft microfiber cloth if permitted. Do not press hard against the panel or use cleaning products that could damage its coating. Make sure any visible marks are not simply dust or fingerprints.
Step 2: Open an online pixel testing tool
Visit the website's existing dead pixel testing tool: https://deadpixeltests.com/. Open the testing interface and follow its on-screen instructions. If fullscreen mode is available, use it to reduce distractions from browser address bars and desktop elements.
Step 3: Display a solid white screen
A white background can help reveal dark spots that may indicate unlit pixels. Inspect the screen carefully, including the center, corners, and edges. Look for tiny spots that remain dark while the surrounding area is uniformly white.
Step 4: Test black and other solid colors
Switch between black, red, green, blue, and other available solid colors. Different backgrounds can make different pixel defects easier to notice. A stuck red subpixel, for example, may be more visible against a green or blue background.
Step 5: Inspect the entire display
Move your eyes across the screen systematically. Check the center first, then the top, bottom, left, and right edges. If you find a suspicious spot, switch to several other colors to see whether it remains in the same location and behaves differently from surrounding pixels.
Step 6: Repeat the test at the monitor's native resolution
Use the display's recommended native resolution (such as 1080p, 1440p, or 4K UHD) and ensure the screen is operating normally. Check that the image fills the panel correctly and that no scaling or unusual display settings are confusing the result. If a suspected defect appears, you can capture a photograph for documentation. Remember that cameras can introduce their own sensor moiré or artifacts, so a photograph alone may not prove that a physical pixel is defective.
Which Colors Should You Use During a Pixel Test?
Testing multiple solid colors is useful because different defects are easier to see against different backgrounds:
- White: A white screen is useful for spotting dark or unlit pixels and some forms of unevenness or edge shading.
- Black: A black screen can make pixels that remain illuminated (stuck or hot pixels) more noticeable. It can also help you observe certain backlight bleed or panel-uniformity issues, although these are different from pixel defects.
- Red, green, and blue: These primary RGB colors help reveal problems affecting individual subpixels. A subpixel that fails to change correctly may stand out against a background that should cause it to appear dark.
- Other solid colors: Additional secondary colors (such as Cyan, Magenta, and Yellow) can help you identify inconsistent pixel behavior. The exact appearance depends on the display technology (IPS, VA, TN, OLED) and the type of defect.
For a reliable inspection, use several colors rather than relying on a single screen. Our flagship dead pixel test provides convenient keyboard and touch cycling through all 8 standard diagnostic shades.
Dead Pixels vs. Stuck Pixels: How Can You Tell the Difference?
A suspected dead pixel usually appears dark or unlit across different test backgrounds. A stuck pixel may remain illuminated in a particular color or behave differently as the displayed color changes. Learn more in our comparison between dead pixels vs stuck pixels.
However, visual inspection is not always enough to identify the precise fault.
If a spot appears only in one application, game, or video, check another application and a different source before concluding that the panel is defective.
You can also restart the computer, check the display cable (HDMI vs DisplayPort), and test another device if available. If the problem follows the monitor across different sources, a panel-related issue becomes more plausible.
These checks can help narrow down the cause, but they do not guarantee a definitive diagnosis.
What Else Should You Check on a Gaming Monitor?
Dead pixels are only one part of a comprehensive pre-purchase display inspection. Before deciding to keep a gaming monitor, verify these five additional performance criteria:
1. Refresh rate
Check that the monitor supports its advertised refresh rate (e.g., 144Hz, 165Hz, 240Hz, or 360Hz) and that the correct setting is enabled in your operating system or graphics control panel. A high refresh rate is different from pixel health. A monitor can have a high refresh rate and still contain defective pixels. Verify your panel with our Refresh Rate Test.
2. Response time and motion clarity
If possible, inspect moving images or use a suitable motion test to look for excessive ghosting or smearing. Advertised response times (such as 0.5ms or 1ms GtG) are measured under specific laboratory conditions and do not always reflect real-world gaming performance. Motion behavior also varies with the selected refresh rate and overdrive setting. Read our guide on monitor ghosting causes and fixes.
3. Resolution and scaling
Confirm that the monitor runs at its intended native resolution and that text and images look appropriately sharp. Incorrect resolution settings can make the image look blurry without indicating a defective panel. Inspect your screen with our Screen Resolution Test.
4. Screen uniformity
Display solid gray, white, and black backgrounds to look for noticeable brightness variation, discoloration, or uneven patches. Some variation can be characteristic of a particular panel technology (such as IPS glow or curved VA viewing angles). Screen uniformity problems should not automatically be classified as dead pixels. For detailed testing instructions, check out our tutorial on how to test a monitor for Dirty Screen Effect (DSE).
5. Ports and physical condition
Check the available HDMI, DisplayPort, USB-C, and power connections as applicable. Inspect the stand, frame, screen coating, and cables for visible damage. For a used monitor, also check for flickering, unexpected shutdowns, and problems maintaining a stable connection.
What Should You Do If You Find a Dead Pixel?
If you discover a suspected dead or stuck pixel before buying the monitor (or within the retailer exchange window), take the following steps:
- Confirm the finding: Test several solid colors and check that the spot stays in the exact same physical pixel location.
- Rule out simple causes: Gently clean the screen as recommended by the manufacturer and check another application or device if possible.
- Document the issue: Record the location of the suspected defect and take clear photographs or video against solid slides for proof.
- Check the return policy: Review the retailer's inspection period, exchange terms, and requirements for reporting defects.
- Contact the seller: Provide the purchase details and evidence, and ask what exchange or refund options are available.
Do not press, rub, or apply physical force to the display in an attempt to "massage" a pixel. Doing so can permanently crack internal substrate layers, cause liquid crystal leakage, and immediately void your manufacturer warranty.
Software that rapidly changes colors may be marketed as a stuck-pixel remedy, but it cannot reliably repair a physically dead pixel. Avoid relying on such methods instead of checking your warranty or return options.
Gaming Monitor Pre-Purchase Checklist
Before completing a purchase or accepting a new screen delivery, use this checklist to inspect the display thoroughly:
- □ Check the screen for dark spots on a white background.
- □ Check for unusually illuminated spots on a black background.
- □ Test red, green, and blue primary backgrounds.
- □ Inspect the center, corners, and outer edges systematically.
- □ Confirm the monitor is running at its recommended native resolution.
- □ Verify that all advertised refresh-rate settings (e.g. 144Hz+) are selectable.
- □ Check motion clarity and inspect for ghosting where possible.
- □ Look for noticeable screen-uniformity and backlight bleed issues.
- □ Inspect video ports, connection cables, and physical bezel condition.
- □ Read the retailer's return policy and the manufacturer's pixel-defect policy.
If you are buying a used monitor, ask the seller for enough time to perform these checks before finalizing the transaction. You can also print out our dedicated screen inspection checklist for in-person evaluations.
Test Your Gaming Monitor Now
Launch our free full-screen dead pixel testing tool to inspect your screen across 8 pure RGB color slides with zero downloads.
Frequently Asked Questions
How do I test a gaming monitor for dead pixels?
Open a fullscreen pixel testing tool and display solid white, black, red, green, and blue backgrounds. Inspect the entire display for tiny spots that do not behave like surrounding pixels.
Can a dead pixel spread across the screen?
A typical isolated dead pixel does not necessarily spread. However, physical damage, pressure, or other panel faults can cause additional problems. If the affected area grows, document it and contact the manufacturer or seller. Read our detailed analysis on whether dead pixels spread.
Can software fix a dead pixel?
Software cannot reliably repair a physically dead pixel. Some tools attempt to stimulate a stuck pixel by rapidly changing colors, but results are not guaranteed and the underlying fault may require professional assessment or panel replacement.
Should I buy a monitor with one dead pixel?
That depends on the pixel's location, your tolerance for the defect, the monitor's price, and the seller's return or exchange policy. Check these conditions before making the purchase.
Can a dead pixel affect gaming performance?
A typical isolated dead pixel does not directly determine refresh rate, input lag, or response time. However, it may be distracting, particularly if it appears in a central or frequently viewed area of the display.
How long does a dead pixel test take?
A basic visual inspection can take a few minutes. Allow additional time if you need to test multiple inputs, verify refresh-rate settings, or inspect a used monitor thoroughly.
Are all black spots dead pixels?
No. Dust, surface marks, image artifacts, and other panel issues can look similar. Compare the spot against several solid colors and inspect the screen carefully before drawing a conclusion.
Do monitor manufacturers replace displays with a single dead pixel?
Policies vary by manufacturer, product, pixel type, and region. Some policies specify acceptable numbers or locations of defective pixels. Check the exact warranty terms and the seller's return conditions for your model.
Final Thoughts
Testing a gaming monitor before buying it is a simple way to check for visible pixel defects and other display problems.
Use multiple solid colors, inspect the entire screen, verify the monitor's basic display settings, and document any suspected defects before your return window expires.
If you want to check your current monitor or inspect a newly purchased display, use the free online tool at https://deadpixeltests.com/ and follow the on-screen testing instructions.
A few minutes of careful inspection can help you make a more informed purchase and identify problems before they become difficult to resolve.