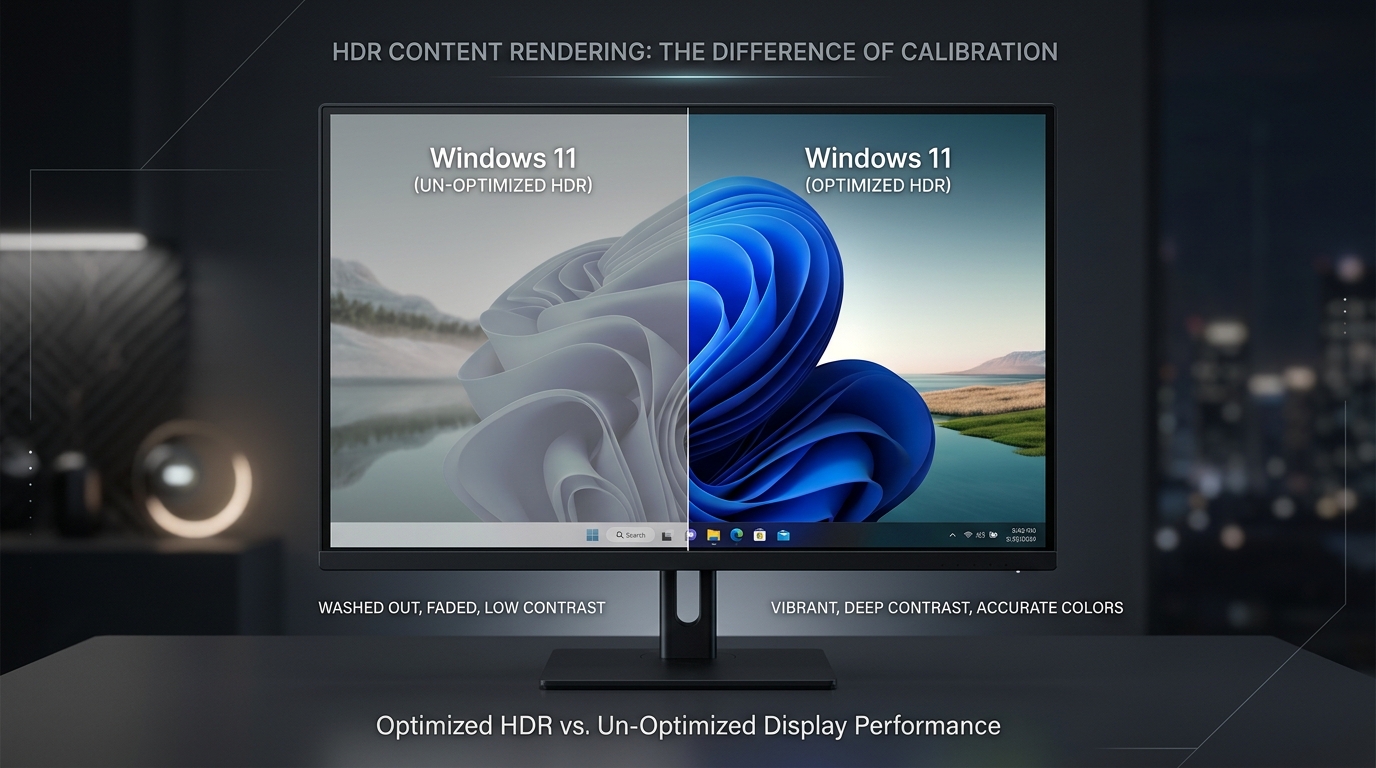
Have you ever enabled HDR on your Windows PC, expecting brighter highlights, richer colors, and a more realistic display, only to find that everything looks faded, gray, or washed out?
You're not alone. Many Windows 10 and Windows 11 users experience washed-out colors after enabling High Dynamic Range (HDR), especially when using external monitors, gaming displays, and HDR-compatible TVs.
The good news is that this problem doesn't necessarily mean your monitor is defective. It can be related to Windows HDR settings, SDR brightness levels, display calibration, graphics drivers, or monitor configuration.
In this guide, we'll explain why HDR colors look washed out on Windows and walk you through practical ways to fix the issue.
Table of Contents
What Is HDR in Windows?
HDR stands for High Dynamic Range. It allows compatible displays to reproduce a wider range of brightness levels and colors compared to Standard Dynamic Range (SDR).
When properly configured, HDR can provide:
Brighter Highlights
Punchy specular light sources, glowing neon, and sunlight without clipping detail.
Detailed Shadows
Preserved near-black textures without crushing dark zones into solid black blocks.
Improved Contrast
Vastly expanded ratio between the deepest black and brightest luminance points.
Wider Color Range
Support for wide gamuts like DCI-P3 and BT.2020 for richer, lifelike saturation.
HDR also enables more realistic gaming and video playback with true-to-life lighting transitions.
However, HDR performance depends on your display's actual capabilities, Windows configuration, graphics hardware, and the content being viewed. Simply enabling HDR doesn't guarantee better picture quality.
Why Do Colors Look Washed Out After Enabling HDR?
There are several possible reasons why your Windows display may look less colorful after turning on HDR:
1. Incorrect SDR Content Brightness
One of the most common reasons is an incorrect SDR brightness setting. Most Windows desktop applications still display standard dynamic range content, even when HDR is enabled.
Windows needs to balance SDR content with the HDR output of your display. If this balance isn't configured correctly, desktop applications, websites, and images may appear too bright, gray, or desaturated.
2. Your Monitor Has Limited HDR Capabilities
Not every display marketed as HDR-compatible delivers the same HDR experience. Some monitors support basic HDR signal input but have limited peak brightness, contrast, or color performance.
A display with limited HDR capabilities (such as entry-level edge-lit DisplayHDR 400 panels without local dimming) may struggle to reproduce the difference between bright highlights and dark areas. Check your monitor's specifications and certification before assuming HDR will produce a dramatic improvement.
3. Incorrect Color Calibration
An incorrect or unsuitable color profile can affect how colors appear on your screen. For example:
- Colors may look less saturated.
- Whites may appear grayish.
- Dark areas may lose detail.
- Different applications may display colors inconsistently.
Windows color management and display calibration can help address some of these problems.
4. Outdated Graphics Drivers
Graphics drivers help Windows communicate with your GPU and display. Outdated or problematic drivers can cause display issues, including incorrect color reproduction, HDR compatibility problems, and unexpected brightness changes. Keeping your graphics drivers updated is an important troubleshooting step.
5. Incorrect Monitor Settings
Your monitor's built-in settings can also affect HDR appearance. Look for options such as:
- HDR Mode
- Dynamic Contrast
- Color Temperature
- Black Level
- Gamma
- Local Dimming
- Picture Mode
Some monitors automatically change picture settings when HDR is enabled. If the monitor applies additional image processing, the result may not match your preferred appearance.
How to Fix Washed-Out HDR Colors on Windows
Try the following solutions one by one to restore accurate contrast and vibrant colors on your Windows HDR setup:
Fix 1: Adjust SDR Content Brightness
This should be one of your first troubleshooting steps. When HDR is on, Windows uses this slider to determine how bright standard desktop windows, web pages, and apps appear relative to maximum HDR highlights.
On Windows 11:
- Open Settings (Win + I).
- Select System.
- Select Display.
- Open HDR.
- Find the SDR content brightness slider.
- Adjust it gradually while looking at normal desktop applications.
The ideal setting depends on your monitor and viewing environment (typically between 20 and 40 on many displays). Avoid setting the slider randomly to maximum. Instead, find a balance that makes SDR content look natural without unnecessarily washing out dark areas or altering HDR highlights.
Fix 2: Run Windows HDR Calibration
Microsoft provides an official Windows HDR Calibration app for compatible HDR displays. It helps configure:
- Minimum visible luminance.
- Maximum visible luminance.
- Maximum full-frame luminance.
- SDR and HDR content color saturation.
Steps:
- Open the Microsoft Store.
- Search for Windows HDR Calibration.
- Install the official application.
- Enable HDR in Windows.
- Open the calibration app.
- Follow the on-screen test patterns.
- Adjust each slider according to the instructions.
For the best results, perform calibration in the lighting conditions in which you normally use your monitor.
Note: This app supports Windows 11 and requires compatible hardware and graphics drivers.
Fix 3: Update Your Graphics Drivers
If your colors still look incorrect, check for graphics driver updates. Graphics drivers contain the color pipelines and display stream compression (DSC) routines essential for HDR handshake.
Depending on your hardware, visit the official driver support page for:
- NVIDIA (GeForce Experience or NVIDIA App)
- AMD (AMD Software: Adrenalin Edition)
- Intel (Intel Arc & Iris Xe Graphics Driver)
You can also check Windows Update. After installing an update, restart your computer and check whether HDR behaves correctly.
Fix 4: Check Your Monitor's HDR Settings
Open your monitor's physical On-Screen Display (OSD) menu using the buttons on your monitor. Check whether:
- HDR mode is enabled when required.
- The correct picture mode is selected (e.g., Cinema HDR, Game HDR, or Custom).
- Dynamic contrast isn't creating unwanted fluctuations.
- Color temperature is configured appropriately (Standard or 6500K).
- Black level settings are compatible with your connection (Full Range vs. Limited Range).
The exact settings vary between manufacturers, so consult your monitor's manual when necessary.
Fix 5: Check Your HDMI or DisplayPort Connection
Your physical video cable and port bandwidth directly dictate whether your monitor receives full 10-bit RGB color or subsampled 4:2:2/4:2:0 signals.
- Use a suitable high-speed HDMI (HDMI 2.0/2.1) or DisplayPort (DP 1.4/2.1) cable.
- Connect directly to the dedicated GPU rather than motherboard video ports.
- Check whether the monitor supports HDR over the selected input port.
- Verify the supported resolution and refresh rate without exceeding cable bandwidth.
- Check the monitor's input settings (e.g., enable HDMI Enhanced or DP 1.4 mode).
If you're using an adapter or docking station, temporarily test a direct connection to identify whether it is contributing to the issue. Learn more in our guide on HDMI vs DisplayPort.
Fix 6: Check Windows Color Management
Incorrect color profiles can cause unexpected color reproduction. On Windows 11:
- Open Settings.
- Select System.
- Select Display.
- Open Color profile.
- Select the correct monitor.
- Review the installed color profiles.
- Check whether the intended profile is selected.
Don't randomly delete profiles. If you have a manufacturer-provided or professionally calibrated profile, keep it unless you have a specific reason to replace it. See our complete walkthrough on How to Fix Monitor Color Profiles.
Fix 7: Check Night Light and Other Display Enhancements
Windows Night Light changes the display's color temperature by reducing blue light wavelengths. Other features, including monitor-specific blue-light filters, contrast enhancers, and aggressive dynamic game modes, may also affect the appearance of colors.
Temporarily disable these features while troubleshooting so you can compare the display under more consistent, neutral conditions.
How to Check Whether Your Monitor Is Displaying Colors Correctly
After changing your HDR settings, it's worth performing a basic screen inspection. At DeadPixelTests.com, you can use screen testing tools to inspect different aspects of your display.
Here are some useful checks:
1. Dead Pixel Test →
Display solid white, black, red, green, and blue backgrounds to visually inspect for defective or unlit pixels.
2. Grayscale Test →
Check whether different shades of gray appear smooth and distinguishable without color tinting or banding.
3. Color Uniformity Test →
Inspect whether large areas of the screen show noticeable variations in color temperature or brightness.
4. Resolution Test →
Confirm that Windows is using your monitor's intended native resolution and 1:1 pixel scaling.
5. Refresh Rate Test →
Check browser-based refresh timing and compare it with your selected Windows refresh rate.
Note: These tests can help identify visible display issues, but they cannot independently certify HDR accuracy or replace professional color measurement equipment.
HDR vs SDR: What's the Difference?
Understanding the architectural differences between Standard Dynamic Range and High Dynamic Range helps clarify why an uncalibrated HDR signal can appear less pleasing than native SDR.
| Feature | SDR (Standard Dynamic Range) | HDR (High Dynamic Range) |
|---|---|---|
| Brightness range | Standard (typically 100–300 nits) | Expanded (400–1000+ nits peak) |
| Contrast potential | More limited (1,000:1 typical IPS) | Higher (Infinite on OLED, High on FALD) |
| Color range | Usually narrower (sRGB / Rec.709) | Potentially wider (DCI-P3 / BT.2020) |
| Highlight details | More limited (Clips bright areas) | More detail possible (Specular retention) |
| Hardware requirements | Basic display support | Compatible HDR display and system |
| Content compatibility | Broad (Universal support) | Requires HDR-compatible content |
HDR isn't automatically better in every situation. A properly configured SDR display can look more accurate than a poorly configured HDR setup.
Test Your Screen Quality
Inspect your display for dead pixels, stuck subpixels, grayscale smoothness, and color uniformity with our free online screen test tools.
Frequently Asked Questions
This can happen because of incorrect SDR brightness balance, monitor limitations, color management issues, or graphics driver problems.
Not necessarily. If you mainly use SDR desktop applications and don't need HDR content, you may prefer to turn HDR off and enable it when watching HDR videos or playing HDR games.
Not inherently. However, an incorrect configuration or a display with limited HDR capabilities can produce less accurate-looking colors.
In many cases, yes. Adjusting SDR brightness, calibrating HDR, checking color profiles, and updating graphics drivers may improve the experience.
No. Check the specifications of your particular display to confirm the HDR formats and capabilities it supports.
A dead pixel usually appears as an individual defective pixel rather than an entire screen looking washed out. Widespread color problems are more likely related to display settings, calibration, or hardware limitations.
Final Thoughts
Washed-out colors after enabling HDR on Windows can be frustrating, but the problem is often related to configuration rather than a defective display.
Start by adjusting SDR content brightness, checking monitor settings, updating graphics drivers, and using the official Windows HDR Calibration app where supported.
Once you've adjusted your settings, use a few basic screen tests to inspect pixel defects, grayscale appearance, and color uniformity.
Want to inspect your display? Visit DeadPixelTests.com and run a free online screen test.